For more T6 abyss guides, check out the main T6 abyss page!
You might be wondering why I didn’t start with the Gila, since that’s by far the most popular cruiser for T6 abyss (and abyss in general). The answer is that I think it’s boring. Also, the Ishtar’s my “main” T6 abyss ship. Write what you know, right? Anyway, here’s a T6 Ishtar guide!
The Basics
Like the Gila, the Ishtar’s a drone ship. However, while the Gila’s limited to having just 2 medium drones active at a time, the Ishtar can field a full flight of 5 drones. With 125 bandwidth, the Ishtar can use a full flight of heavy drones or the more popular 2 Geckos, 2 mediums, and 1 light. This setup works well because the Geckos do a lot of damage and have a lot of tank while the light flies around and pops caches for you. Thanks to the Ishtar’s tracking bonus, its heavy drones (including Geckos) have no issues applying damage to most targets.
Most T6 Ishtars are shield fit, and I’m not aware of any viable T6 Ishtar fit that isn’t. This is because you can easily mount a ridiculous active tank by using a Gist XL shield booster while using your plentiful lows for drone damage and application. Unfortunately, the Ishtar’s a difficult ship to downgrade, since it relies on bling not only to survive but to be able to fit all of its modules.
The Ishtar’s main weakness is its lack of buffer. Seriously, Ishtars are paper thin: you’ll probably have a little over half the shield EHP of a comparably blingly Gila. With only 4 mid slots, shield Ishtars can also only realistically fit 1 large battery, making them susceptible to heavy neut pressure that you can’t clear quickly. Part of the reason that T6 Ishtars are shield-fit is the low buffer: you might just get deleted before armor reps land. The low buffer means that T6 Ishtar users tend to stick to Gamma weather due to the 50% shield HP bonus. This isn’t a bad thing, since Gamma filaments tend to be cheap and their mutaplasmid drops are good. Shield Ishtars can technically handle other weathers, but it requires a lot of bling and it’s still a risky proposition.
Overall, the Ishtar can consistently clear T6 Gamma while being potentially cheaper than a T6 Gila and not relying on flimsy Minmatar medium drones for its damage. The Ishtar also has a unique quirk in that, for our purposes, it doesn’t need the HAC skill trained past I. All that skill gives the Ishtar is more drone control range and improved sentries, neither of which we care about in the abyss.
The Fit
Most T6 Ishtar fits are based on something like this. Shield tank, small weapons, use lows for damage and an assault damage control (for giving you a few seconds to stabilize if you start eating massive damage). I will say that that particular fit is horrifically overblinged: you can handle T6 just fine with a B-Type hardener and booster. I recommend the following baseline fit, which I still use as my primary abyss ship with minimal upgrades:
[Ishtar, T6 Gamma Baseline]

Shadow Serpentis Assault Damage Control
Dread Guristas Drone Damage Amplifier
Dread Guristas Drone Damage Amplifier
Dread Guristas Drone Damage Amplifier
Dread Guristas Drone Damage Amplifier
Dread Guristas Omnidirectional Tracking Enhancer

Pithum B-Type Multispectrum Shield Hardener
Thukker Large Cap Battery
Federation Navy 10MN Afterburner
Gist B-Type X-Large Shield Booster

280mm Howitzer Artillery II, Republic Fleet Fusion S
280mm Howitzer Artillery II, Republic Fleet Fusion S
280mm Howitzer Artillery II, Republic Fleet Fusion S
280mm Howitzer Artillery II, Republic Fleet Fusion S

Medium EM Shield Reinforcer II
Medium Semiconductor Memory Cell II


Republic Fleet Warrior x1
Republic Fleet Valkyrie x2
Gecko x2


High-grade Crystal Alpha
High-grade Crystal Beta
High-grade Crystal Gamma
Mid-grade Crystal Delta
Mid-grade Crystal Epsilon
Mid-grade Crystal Omega
Inherent Implants 'Squire' Capacitor Management EM-803
Eifyr and Co. 'Alchemist' Neurotoxin Recovery NR-1003

Standard Blue Pill Booster
Agency 'Hardshell' TB5 Dose II


Nanite Repair Paste x100
Republic Fleet Fusion S x9000
'Packrat' Mobile Tractor Unit x1
In total, this fit will run you roughly 3.5 billion ISK as of writing, not including spare drones like a second flight (which you should use). Your eyes might be watering at this point, but that’s actually a good deal cheaper than what a lot of people run in T6 abyss.
Let’s break down how the fit’s put together and what you can change around:
- The high slots are small artillery for a bit of extra capless explosive damage. You can realistically use whatever small guns you want here, or leave it empty entirely. Artillery’s just more optimal.
- The mid slots are your shield tank, cap, an AB. Do not cheap out on the AB. Fed Navy’s actually quite cheap considering the total cost of the fit and gives you a substantial improvement over T2. Running a T2 AB on a 3-bil fit makes your Ishtar cry. Upgrading the AB to Corelum B-Type gives you another speed improvement, but the first thing you should upgrade on this fit is the battery. Specifically, get a good mutated one with improved cap and neut resistance. If your active reps go down from getting neuted out, your ship (and pod) will quickly follow. Remember, you only have 1 battery doing all the work. A T6 Gila can readily fit 2.
- You can upgrade your tank modules to A- or X-Type, but that isn’t necessary at all. If you do go that route, prioritize the multi over the booster.
- The low slots are DDAs for damage, a drone application mod, and an ADC. The ADC’s there because sometimes you get unlucky and eat a few wrecking shots that punch through your reps. If that happens, the ADC will give you a few seconds to rep back up and address whatever’s causing you to take so much damage. If you want, you can roll the ADC (get its duration to at least 12s; its only mutated resists are hull resists and those don’t matter).
- When it comes to drones, there are 2 options: use a full flight of 5 heavies (Berserkers in Gamma) or a flight of 2 Geckos, 2 Valkyries, and 1 Warrior. I prefer the second option for the reasons said earlier. For the rest of your drone bay, just add a 2nd flight for backup if your initial drones get damaged and fill the rest of the bay with more spares. Have the Warrior in a separate flight from your Geckos and Valks, and send it around popping cans on its own.
- I wouldn’t bother mutating drones if you go the Gecko route. Geckos can’t be mutated and Valks and Warriors are flimsy anyway and don’t contribute much damage.
- Implants are Crystals for tank along with a hardwiring for cap. Crystals are really cheap as of writing, so go with a full HG pod if you want. The Overmind ‘Goliath’ Drone Tuner T25-10S is a fantastic option for slot 7, since it gives a huge 25% bonus to drone HP while decreasing drone velocity by just 10%. It makes a big difference in managing drone aggro. You can upgrade the cap implant if you want. The neurotoxin implant’s there because there isn’t really anything else that helps an Ishtar in that slot and it’s a dirt-cheap QoL improvement that makes you less likely to need to reroll drugs due to bad side effects.
Speaking of drugs, you’ll want to use Standard Blue Pill and a Hardshell. Specifically, you want to “preroll” the former: pop the drug, and if you get side effects you don’t want to deal with (like shield or cap penalties), hop into another clone in the same station and back to your abyss clone. This’ll wipe the booster and let you try again with no clone jump cooldown (since it’s in the same station).
Of course, you should train up every drone skill, especially Interfacing (which significantly boosts multiple stats including damage by a whopping 10% per level). Geckos neither need nor benefit from Drone Specialization skills, so don’t bother training those. The Ishtar’s a far more forgiving ship than people think in terms of SP, since you don’t actually need to train up HACs and all its hull bonuses come from the Gallente Cruiser skill (which you need to have at V to sit in an Ishtar in the first place).
The Tactics
First thing’s first: you’re in a thin ship even if your active reps are insane on paper. That means you need to get a feel for how much pressure your ship can take. A few unlucky chained wrecking shots from a Karen (Karybdis Tyrannos- the name’s kinda similar and it’s annoying) can punch through your reps and end you. Too much neuting can leave you both dead in the water and physically dead. If a wave looks rough, preemptively heat your hardener. Then heat your booster too if you’re still struggling. Shield hardeners overheat and cycle very slowly, so you have plenty of time. Make sure you don’t just permarun your booster unless you have to: it reps a lot per cycle, so pulse it and avoid overrepping (and draining your cap).
Generally, it’s a good idea to prioritize neuting and webbing enemies, since they pressure your cap and make you take more damage, respectively. You also want to watch your drone healthbars to make sure they aren’t getting mulched by rooms like Angels and Tesseras.
You should also be aware of your resist profile. Being a T2 Gallente ship, the Ishtar gets extremely high kinetic and thermal resists, making enemies like Overminds that exclusively or primarily deal those damage types a piece of cake. However, your EM resist is low even with the rig and your explosive resist is badly hurt by the Gamma weather penalty. This means that enemies that deal a lot of EM or explosive can be surprisingly dangerous. A good example of this is a big Blastneedle Tessella room.
In my experience, the absolute trickiest room in a T6 Ishtar (and the only one that should give you any real trouble once you get some experience with the ship) is a really bad Starving Vedmak spawn. These guys will heavily neut you while dealing high, constantly increasing damage with excellent tracking and range. Basically, it’s a race to see if you can clear enough off the field before your cap and/or tank break. If you get a nasty room like this, I recommend popping your Hardshell if you haven’t already, preemptively heating your hardener, pulsing your rep heated, and kiting away from the Vedmaks while focusing down the Starvings. Once you get rid of a few, the room becomes much easier.
Tessera rooms are notorious for killing drones, but there are a few tricks you can use. Firstly, only 1 Tessera will ever shoot your drones at a time, and it’ll always be the same Tessera until it dies, even if you recall and relaunch all your drones. This means you always know which ship’s going after your drones, and you can focus on taking it down. Also, take advantage of the fact that Geckos are really tough and Tessera rooms have no webs other than some weak frigates you can clear at the very beginning of the room. You can easily recall and replace a Gecko that risks taking armor damage. And even if you miscalculate and the Gecko takes way more damage than you expected, it’ll still probably live.
Angel rooms aren’t too bad as far as tanking goes, but they can be really annoying due to the large amount of webs combined with fast rats and good application. If a drone starts getting primaried and you start recalling it, it might just not get to you in time. Consider approaching your own drone to get to it faster if that’s the case. Drones also have a tendency to automatically switch targets if they can’t catch up to their assigned one, so keep an eye out for that. While you should generally prioritize Cynabals, especially Elite ones, consider smacking a few Dramiels if you’re not in any danger. They’re really thin targets that have webs and can kill drones quickly. Echos are similar; you can easily wipe one off grid at the beginning of the room before the rest of the rats get in range.
Leshak rooms also bear mentioning. They aren’t usually a problem: just focus renewings and starvings; they start off badly damaged and go down quickly. However, a room with a lot of blindings can obliterate your lock range and make you unable to target anything you can’t reach out of your ship and touch. Fortunately, the Ishtar’s a drone ship. If you order your drones to attack a target, they’ll keep attacking it even if you lose the lock. They’ll also autonomously attack other rats in the room, meaning you’re still clearing the room even if your lock range is in the toilet.
In Ephialtes and some Damavik rooms (which feature a lot of relatively weak enemies), consider assigning 1 Gecko to 1 rat to avoid losing damage from your drones needing to burn between targets.
CONCORD rooms aren’t an issue for most T6 Ishtar fits. This is largely due to your resist profile: your extremely high kinetic resist mitigates a lot of their damage. Just be careful getting close to your drones in heavy EDENCOM rooms. Their chain lightning will bounce off you and onto your drones, potentially killing them quickly.
When getting started with a new abyss fit, I don’t recommend bothering with an MTU or side cans at all. Instead, just focus on building piloting experience and learning how to manage enemy spawns with your new toy. When you get more experienced, the Ishtar can easily clear every side node in every room with time to spare.
The Weird Stuff
Other T6 Ishtar fits do exist: there’s the “Pogtar,” which is a propless passive shield fit that can do T6 abyss, along with active versions that trade the AB for a shield extender for more buffer. In lower tiers, you might see cheap shield Ishtars and even armor Ishtars running around. However, the standard, tried-and-true T6 Ishtar is still going to be an active shield fit.
The Bottom Line
The Ishtar may be a harder ship to fly than a Gila (not that that’s a high bar), but it can also be a lot more fun, especially in challenging content like T6 abyss. It takes drones, which are already a strong weapon system in abyss, and makes them even better, while also having great survivability without too much bling if you know what you’re doing. It’s also just better at Gammas than the Gila due to not having to rely on weak Minmatar drones in that weather and not having any timer issues as consequence. T6 Gammas are also generally a great filament to run: they’re cheap compared to others and drop pretty valuable mutaplasmids. They’re certainly more lucrative than T6 Exotics.
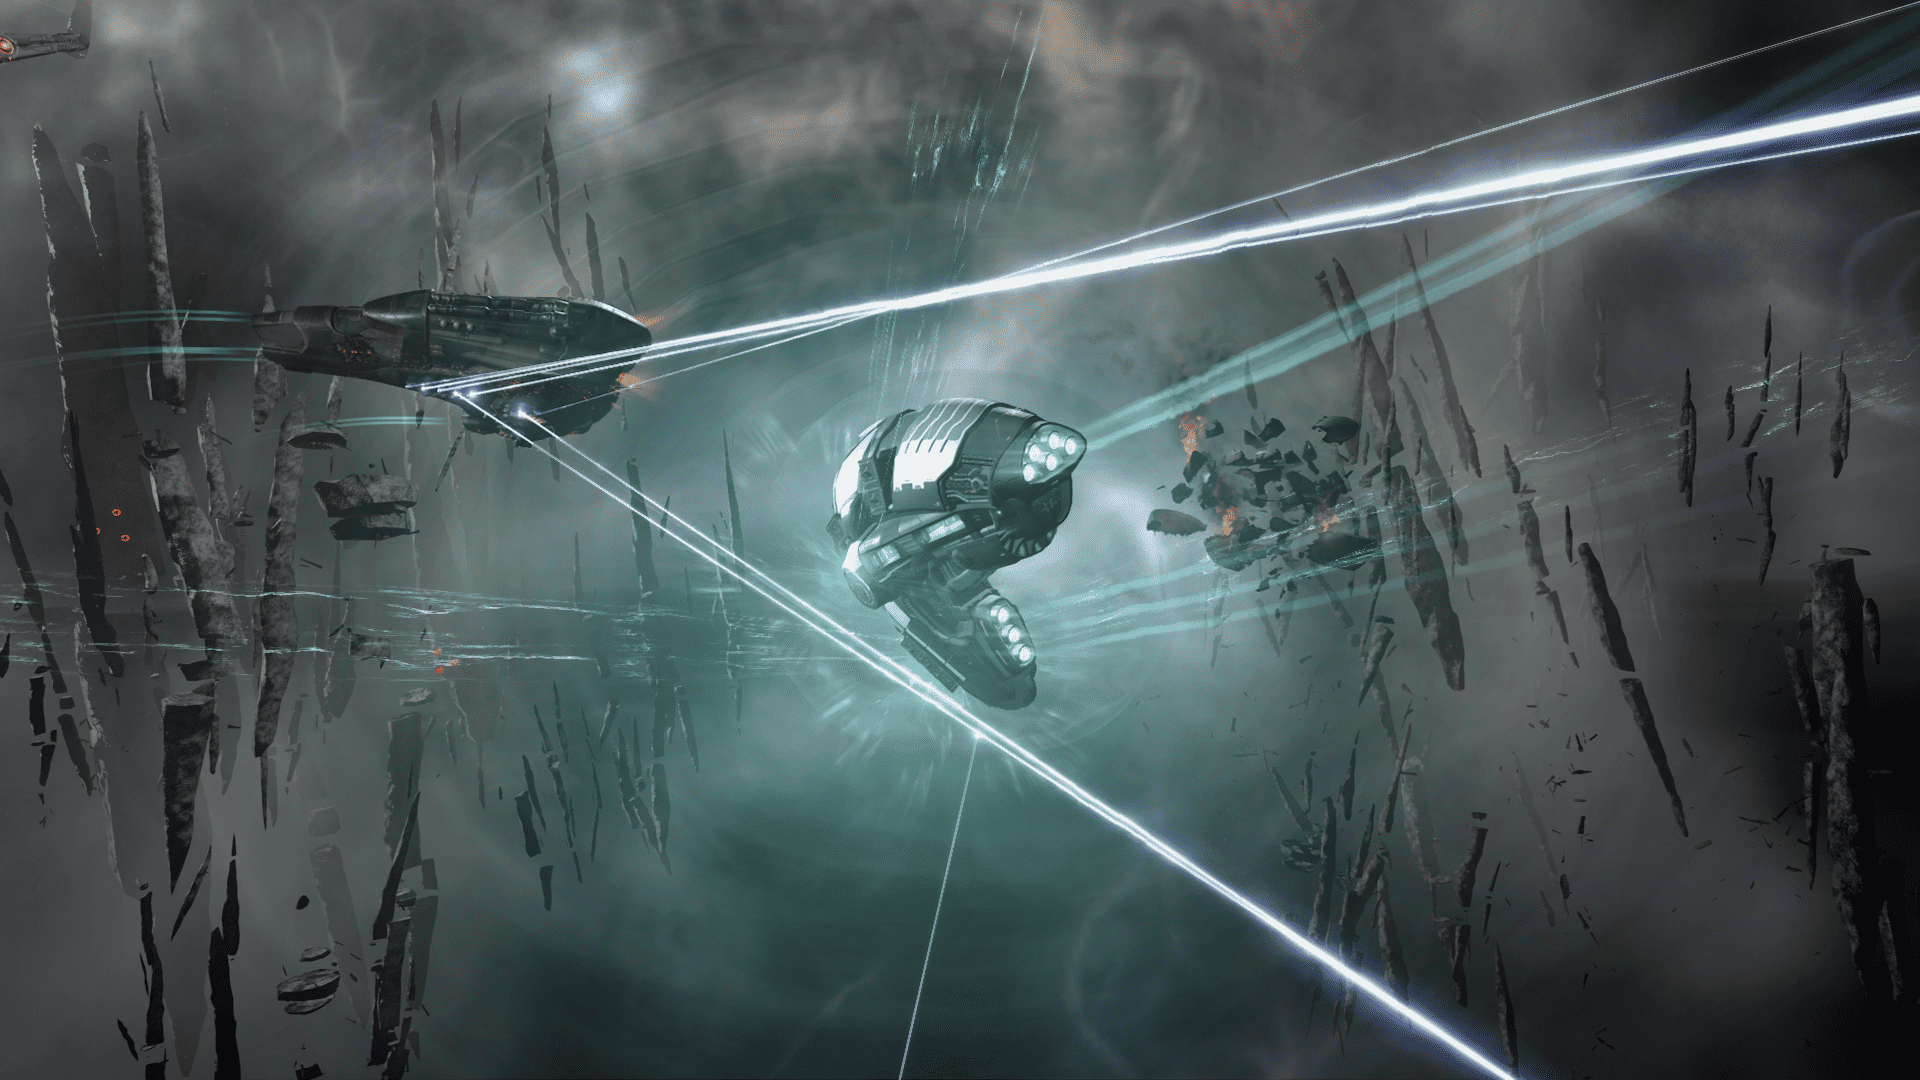
And above all else, get used to your shield bar looking like this: